how to use our 3D kaboodle planner
Bring your dream project to life, exploring different styles, colours and hardware using our 3D planner.

Now that you have all your measurements handy, it’s time to head over to our free 3D kaboodle planner so you can start bringing your dream project to life. But before you do this, we wanted to cover off a few basics.
Firstly, the planner was designed for you to easily create the kitchen, study, laundry or project of your dreams using our real-life products.
The 3D planner features our full range of door and panel colours, door profiles, benchtops and accessories, giving you the chance to visualise, select your favourite combinations and create the exact style you’ve been looking for. It allows you to replicate your current space, including window and door locations, wall angles, fitted lights, fixtures, furniture and appliances so you can get a true representation of what your space could look like once completed.
You’ll notice you can view the planner from several perspectives, 2D to 3D, front to back, left to right. When planning your space, the 2D perspective will allow you to see the space from a floor plan view and will allow you to easily select where you would like to place products. The 3D view will then allow you to view the finer details such as angles, colours and materials.
As you plan your space, you will see a shopping list calculating all the items you put into your plan. It’s important to know that this is a guided estimate for the total cost of your project. Before you go ahead and purchase everything on your shopping list, make sure you head into your local Bunnings to confirm and finalise your order with a kitchen expert at the special orders desk.
how to use the 3D kaboodle planner
When planning your space from scratch, you may need some pointers to get started. There are two ways you can use our 3D planner, quick quote or 3D project. The quick quote will take you through a step-by-step process, helping you to choose a layout, shape, colours, appliances, styles and more. Once you have done this, you can then start planning your 3D project to get the exact look and feel you are after. Explore both options below:
how to use the quick quote planner
The quick quote planner will take you through a step-by-step process, starting with the overall style, then moving into detailed appliances, layout and finally personalisation to help you build your dream kitchen in 3D.
We have five kitchen showrooms for you to choose from to start your quick quote design; select an industrial style or maybe the Scandi look, to help visualise your style preference and layout. We also have a brand-new modern laundry showroom, so you can start planning your laundry project too.
Once you’ve selected your showroom, you can click the pencil icons on screen to choose your favourite door colours, handles, walls and flooring. As you change kaboodle products, you will notice the price increase/decrease – this is an estimated total for that design.
Please note: all other steps for quick quote detailed below are not available for the laundry showroom. If you want to design your laundry, select the showroom and then click ‘build in 3d’ in the top left-hand corner. This will skip all appliances and cabinet layouts which are for kitchen designs only. In the 3d builder, you will be able to move cabinetry around to create your dream laundry. You can refer to the 3D project design for more help.
When you select next in the top right-hand corner, you will be guided through each step. Make sure to have your appliance information, measurements and layout ideas handy. Once you get to the last step, you will be moved to the 3D project planner section. This is where you can finalise your design and get an estimated quote.
how to use the 3D kaboodle planner
When planning your space from scratch, you may need some pointers to get started. If you’re new to the planner, we recommend you start by selecting our quick quote option. This will take you through a step-by-step process, helping you to choose a layout, shape, colours, appliances, styles and more. Once you have done this, you can then start planning your 3D project to get the exact look and feel you are after.
We have a range of tutorials on our YouTube channel that will help you design your dream space. Our tutorials focus on planning your kitchen, but you can use these tips and tricks to build any space, whether it be your laundry, a study nook or bathroom vanity.
Navigate to the tips listed below to get started;
navigating the main menu of the 3D planner
To get started, let’s get you familiar with our interface. When you start your new design and set up your room, you will be presented with a basic navigation tool bar to the left of your screen, the project name and shopping list at the top of your screen and helpful tools to the right of your screen.
The basic navigation bar has six options:
floor plan
cabinets
appliances
overall style
lighting and furniture
item list and plans
The top panel gives your project name (don’t forget to create an account so you can name your project and save it for later) and your shopping list. When you click on the shopping list icon, it will detail everything you have added to your plan and will also give you an estimated cost.
To the right of your screen, you will see the option to save your project, take a snapshot (this is like a screenshot), a question mark which will step you through the basics of how to use the planner, a video camera which will link you to our tutorial videos and navigation panels to the bottom right of the screen.
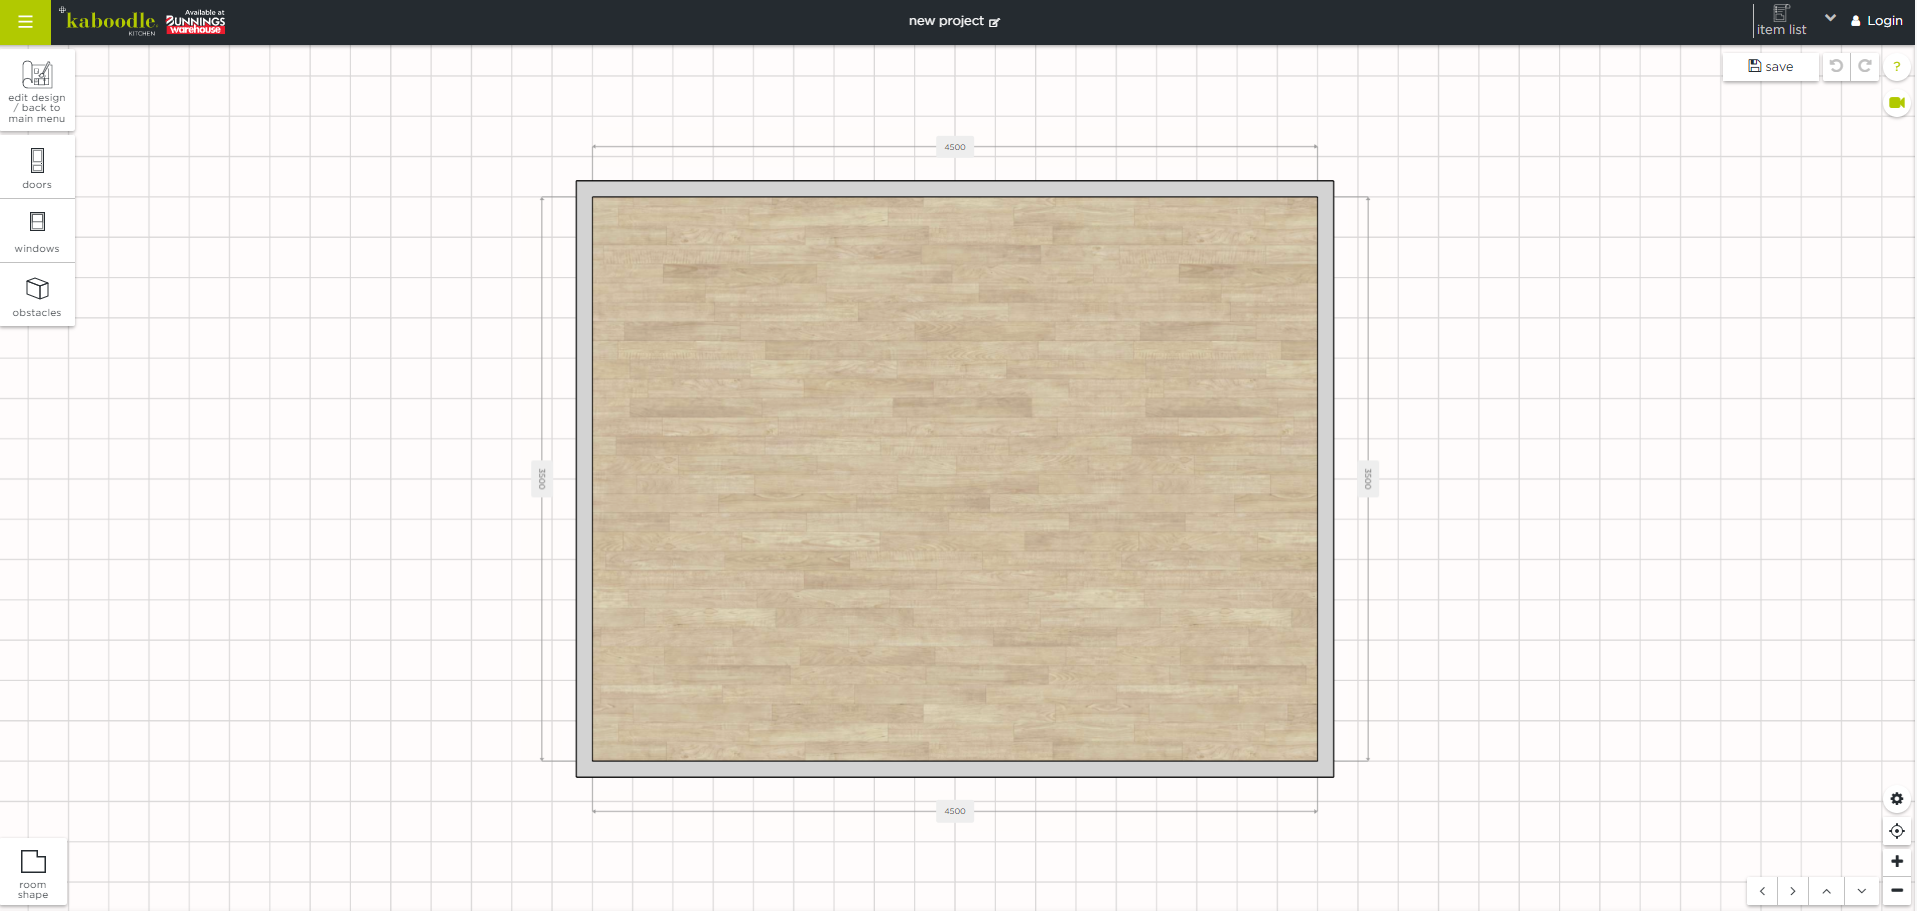
how to set up your room
When starting a new design, you’re prompted to set up the size and shape of your room. You can select a pre-determined shape if it fits your needs or you can follow our measurement guide to set up your real-life specs.
Once you press okay, navigate to the top of the screen to name your project.
If you realise you’ve made a mistake with your dimensions, you can simply update it by clicking on the dimensions outlined on your floor plan. Or, use the ‘room shape’ button located on the bottom right-hand side of your screen to bring up the pop-up again.
Before you start adding in the fun stuff, don’t forget to include all the features of your space that won’t be changing. These are usually things like your doors, windows, plumbing, electricity or maybe even stairs. You can access these by clicking on the ‘floor plan’ icon located at the top of the left-hand menu.
Follow along to our video tutorial and get started.
how to add cabinets
Now, let’s build your cabinetry! Start by clicking through to ‘cabinets’ via the left-hand menu.
design tip - before you add your base or wall cabinets, you need to include an end panel on the wall side of the cabinet.
Once you have found the base cabinet or wall cabinet you’re after, select the plus symbol to add it to your design. It will automatically snap to the left side of your room, so to move it you can select and drag the white arrows on either side to place it where you want it.
Don’t forget to also add your appliances like a fridge, sink, freestanding oven, dishwasher and microwave.
design tip – if using a freestanding oven, make sure you include end panels either side to protect your cabinet from heat damage.
If you have a large space and need to duplicate a cabinet already added to your plan, you can do this by hovering over the cabinet until the hamburger menu appears, then click on the three dots and choose ‘duplicate’.
For a more in-depth explanation on how to add a cabinet to your design, you can view our video tutorial.
how to change colours
Once you’ve finished adding in your cabinetry, it’s time to pick the colour of your doors.
Firstly, select a single cabinet and hover your mouse over the green hamburger menu. Select the spanner icon to customise, then select doors. Inside this menu you can choose between our different profiles. You’ll then be given a choice of colours based on what’s available in your desired profile.
To change the colour across all cabinetry at once, use the ‘CTRL’ button on your keyboard. You can then follow the same steps above to change them all at once.
Alternatively, you can also quickly change the overall style of your space by clicking on the ‘overall styles’ icon located on the left-hand menu.
For more information around how to change the colour of your cabinetry, watch our step-by-step tutorial video.
positioning cabinets and auto placement
The planner uses intuitive elements to help position and align cabinets. You will notice that a cabinet will automatically snap into place when it’s added to the planner, and again when you move it closer to a different wall.
If you want control over the positioning, you can simply hold the item where you want it and wait for it to flash green around the edges. This provides an indication that it has been pinned to your desired location.
See how our cabinets automatically position themselves by watching this short tutorial video.
how to share your 3D design
You can invite friends and family to collaborate on your 3D design. This will give them full access to edit and make changes to your design like you.
Firstly, log in to the 3D kaboodle planner and open the design you would like to share. Then, click on the left-hand menu and select 'people'. Next, enter the email address of those you'd like to share your 3D design with.
The person you have shared your design with will get an invitation via email that they will need to accept to get access to your design. They will need to create a 3D kaboodle planner account if they don't have one already. This 3D design will now appear under the 'collaborations' tab in your designs.
If you do not want others to have the ability to edit your design, it's best to share images and item lists only. You can do this by clicking on the right-hand side 'item list' drop down. Then select the outputs you would like to share under 'print settings' on the right-hand side before printing or downloading.
PDF or CSV download option
If you’d like to share your plans and item lists with others, you can download these as a pdf or csv file. Download as a csv if you would like information in an editable spreadsheet format. Alternatively, a pdf is a good option if you’d like to maintain the format of your item list.
how to add bunnings flooring and paint
In an exciting new update, you can now add selected Taubmans paint, and Floor Select and Hanwood flooring available from Bunnings into your 3D kaboodle plan. You can make your flooring and wall paint selections by navigating to ‘overall styles’ in the left-hand menu.
The 3D kaboodle planner will use your room measurements to calculate the quantity of flooring required in m2 and this will appear in your item list on the right-hand side of your screen.
The handy thing about this is that you’ll be able to view Hanwood, Floor Select, and Taubmans products in-store at Bunnings and then visualise your flooring, paint and joinery all together in the 3D kaboodle planner to make sure your selections are all working harmoniously before you make any purchases. You might like to get physical swatches to create a moodboard – or moodboard digitally using mykaboodle.
Note: the 3D kaboodle planner cost estimate will not factor in the cost of your flooring and paint, so remember to speak to your local Bunnings expert about this.
So, there you have it, our top tips on how to use our 3D kaboodle planner. Start making your dream project a reality and get planning today!
If you have further questions, you can send us a direct message on Facebook or Instagram or email us at info@kaboodle.com.au.
unleash the potential of your kitchen design with online planning
The 3D kaboodle planner offers a world of convenience and flexibility, empowering you to take control of your kitchen renovation from the very first step.
convenience at your fingertips
Design your kitchen on your schedule. The 3D kaboodle planner is available online whenever inspiration strikes! No design experience? No worries! Our user-friendly interface makes creating your dream kitchen a breeze.
visualise your dream
Imagine whipping up culinary masterpieces in a kitchen that perfectly reflects your style. With the 3D planner, you can see your vision come to life before you commit. Experiment with layouts, colour schemes, and kaboodle products to find the perfect fit for your space and taste.
a world of design possibilities
The 3D kaboodle planner is your playground for creativity. Experiment with a variety of layouts, from the classic L-shaped kitchen to the trendy galley style. Browse through our extensive selection of cabinets, benchtops, splashbacks, and hardware to find the perfect combination for your unique needs.